
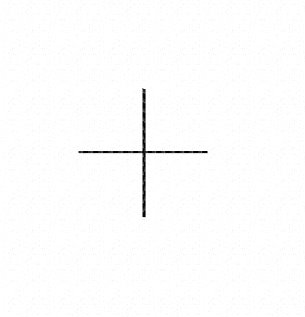
If you want to embroider a design which is larger than your hoop and you don’t know how to use the split design feature in your software or your software doesn’t have this feature, I have some FREE positioning crosses you can download here so you can do this manually.
There are multiple ways to do this but I have found this to be the easiest way I’ve tried. Here are some brief instructions, hopefully they make sense, if you do need any help though feel free to get in touch with me.
Instructions On How to Use the Positioning Crosses
- Create the full design you want to do at the finished size you want it and make sure it’s all aligned like you want it to be. You may need to use a larger hoop size in your software to do this initially.

2. Decide where you want the design to split and either make those parts different colours so they are separate steps in your thread list or use whatever splitting features you have to locate the stitch points and split them. It’s often best to try and split the design where there is a natural gap as it will be easier to line up later. Ensure each part of the design will fit into whatever hoop you are using.

3. Add the position cross file and place it somewhere at the top and bottom of your design around where it is split. Arrange the thread list so that the crosses will stitch at the END of the first design and at the BEGINNING of the second. The idea is that the first half will stitch and then stitch the crosses. The second design will stitch the crosses FIRST so you can ensure you have lined it up correctly BEFORE you stitch the rest of the design.

4. You want to make sure the crosses are exactly horizontally and vertically aligned with your grid on your screen so that your design will be straight. You can just remove the position marks either at the end of stitching the entire design or once you are happy with the second half alignment before you actually stitch the design.
5. Save out the files as 2 separate stitch files and load both onto your machine when you are ready to go. It’s also really helpful to print out the paper template of each half so that you can make sure the whole thing is going to stitch in the right place before you start.

hi Mandy, thanks for the positioning file. just a question, I cant seem to find how to print the directions. Thanks Paula
Hi Paula
The instructions are written in the blog so you need to use the print option in your browser to print the blog.
Hope that helps!
Thanks
Mandy